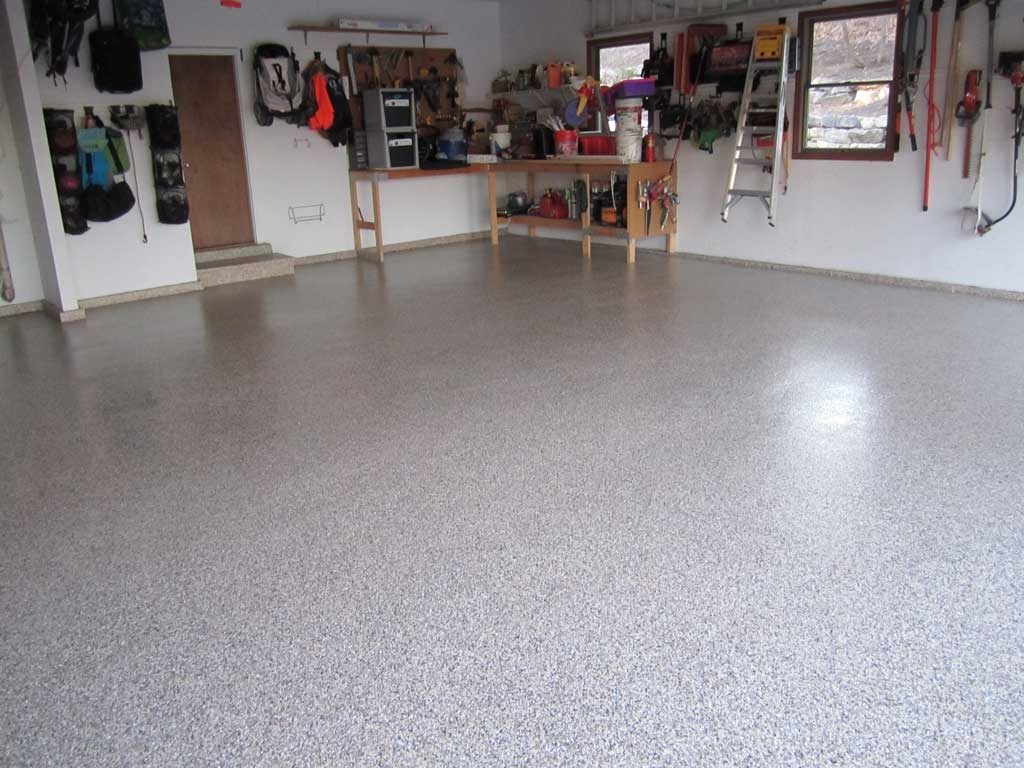
You must be planning to revamp your home with a garage floor epoxy coating, for a productive workspace. But, you are not so sure if you can afford the professional cost of installing it. A more practical solution is what you are looking for. Worry no more because you can have your garage floor epoxy installation in your hands.
The secret to a perfect and long-lasting garage floor epoxy coating depends on the concrete preparation. Installation is easy. Just follow this guide below, showing you how to prepare your garage floor for an epoxy coating.
The Importance of Concrete Preparation for Garage Flooring
Before applying the coating, first, make sure that the surface is free from any moisture. The strong bond between the concrete surface and the epoxy coating depends on a polished preparation of the concrete. Make sure that the surface is dust-free. The concrete must be wiped thoroughly, leaving no residue of cement behind. A seamless epoxy flooring is a result of a clear, clean surface ready for coating. When you properly follow this, the outcome will be satisfying. Your garage floor epoxy coating will last long, free from peeling, flaking, and fading.
Intensive Cleaning
The best way to make the concrete spotless before the coating is to wash and polish the garage thoroughly. The top side of the walls and ceiling should be free from cobwebs dangling on every corner.
For gathering bits and pieces of soil, sand, and liquid spills, a vacuum will handle it effectively. You can also use a leaf blower to brush away all remaining solid particles. Now, your surface is ready for coating!
Deep checks before coating
Below is a checklist for you for conducting a concrete preparation for your garage floor epoxy installation. Epoxy flooring contractors recommend that you conduct a thorough check of the following:
- See if there are newly installed concrete slabs on your garage floors. Wait for the newly installed slabs to set within 30-60 days.
- If there is an old coating existing on your slab, it must be entirely removed first, especially if you are planning to install 3D epoxy floors or metallic epoxy floors.
- Seal any damages from a pre-existing slab. Conduct a necessary repair.
- Check for existing moisture intensively. If moisture persists on the concrete, the epoxy flooring contractor will recommend you not to use epoxy flooring.
Main methods of Concrete Preparation
- Acid-Etching
For a DIY residential epoxy flooring installation, an acid-etching method is the easiest preparation step for you. All you need is an acid solution and stiff bristle broom for cleaning and scrubbing the concrete. Contact the top flooring contractor in your area. If you are in Chicago, epoxyfloorchicago.com will recommend you what acid solution will be suitable for your home’s concrete.2.
- Diamond Grinding
The diamond grinding method requires using a piece of machinery that completely smoothens the concrete surface. Hiring a contractor is involved in this method. If you will be able to find or acquire your floor grinder, this method is no sweat for you. You must be thorough when performing diamond grinding on your concrete. No spot on the concrete should be left out so that the coating will be strong and durable.
- Shot Blasting
To fully flatten the concrete surface, special heavy equipment will perform a shot blasting. This is done by broadcasting small chips or pelts of beads on the floor and blast them away so that the stains and damages on the pre-existing slabs will disappear completely. Epoxy flooring contractors are experts in conducting shot-blasting. They will prefer this method more than etching and grinding.
